
In this post we’re going to install Proxmox VE as the virtualization platform on our three physical nodes.
Note: You can find the physical layout of the lab in the earlier post:
Proxmox VE is a Debian-based distribution. It is presently one of the most widely used open-source HCI (Hyperconverged Infrastructure) solutions for deploying hyperconverged clusters. It is broadly adopted by companies in development and backup environments. In some cases, it is also used in production environments due to its simplicity and efficiency.
We’ll be using version VE 8.4-1, and the ISO can be downloaded from the official Proxmox website:
Download Proxmox software, datasheets, agreements
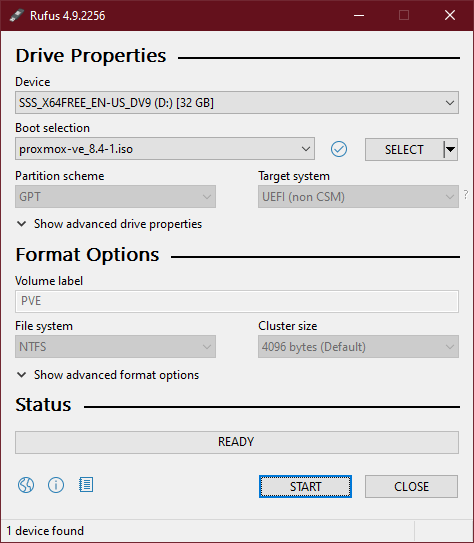
Once the ISO is downloaded, we’ll create a bootable USB drive. I’ve used RUFUS for many years as my go-to tool for this. Nonetheless, you’re welcome to use your preferred USB creator. RUFUS can be installed on any Windows 10 system from the Microsoft Store.
Accept the default settings, and continue to generate the USB.
With the USB loaded with the Proxmox boot image, we move on to installing the operating system:
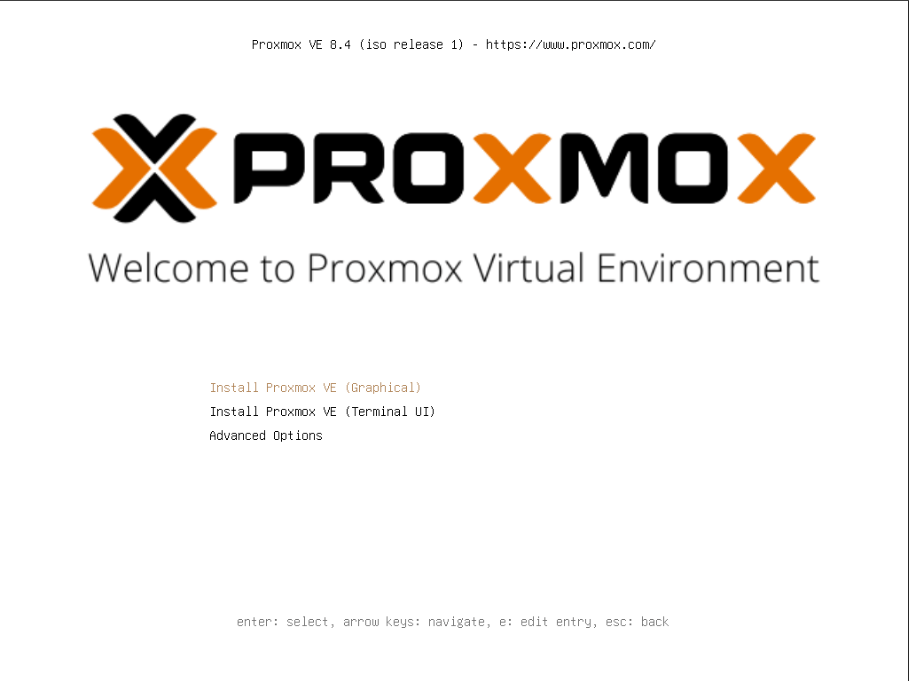
Select the default (Graphical)
The installation makes some discovery and then it shows EULA, agree on that. Next screen is choice of the OS disk:

Usually no changes need to be done here, the installation chooses the first disk in your hardware. You can play with the options for filesystem. You can also adjust the size of the linux partitions. Still, we are ok with the defaults. Select next:

Enter the information that suits you. Select Next:
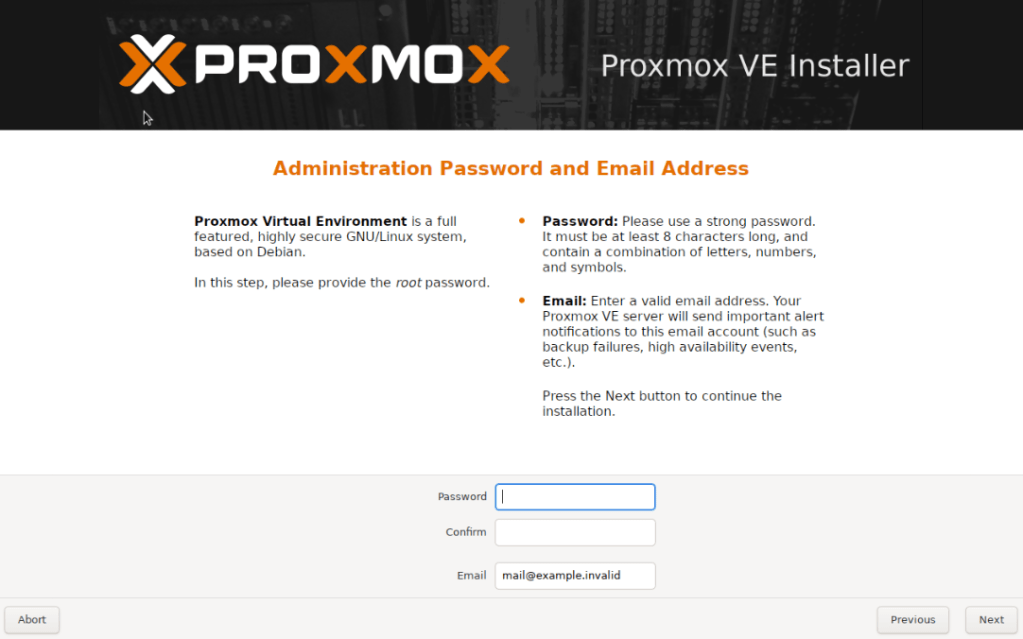
Type the root password. Enter some email (it doesn’t have to be real). In production, you’d want to use a real one for alerts. Select Next:
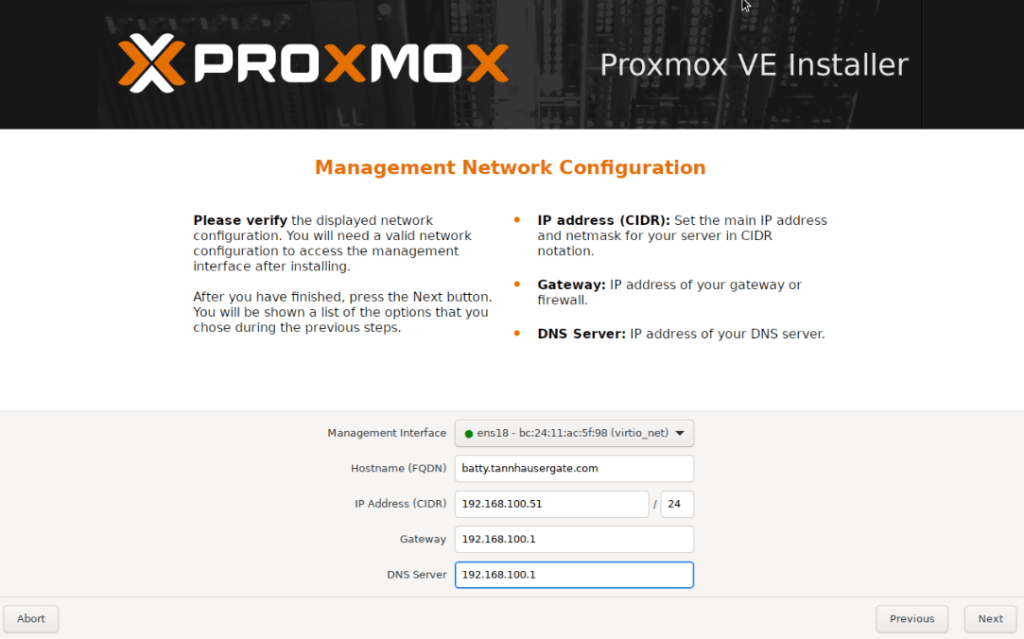
Choose the NIC that will serve as management interface. In my example, each of my servers have two NICs and I’ll choose the first one as management. The installation will also automatically create a Linux Bridge with this NIC for VMs. We’ll change the networking configuration later on each node to suit our lab environment. Type your IP address, Gateway and DNS Server and select Next:
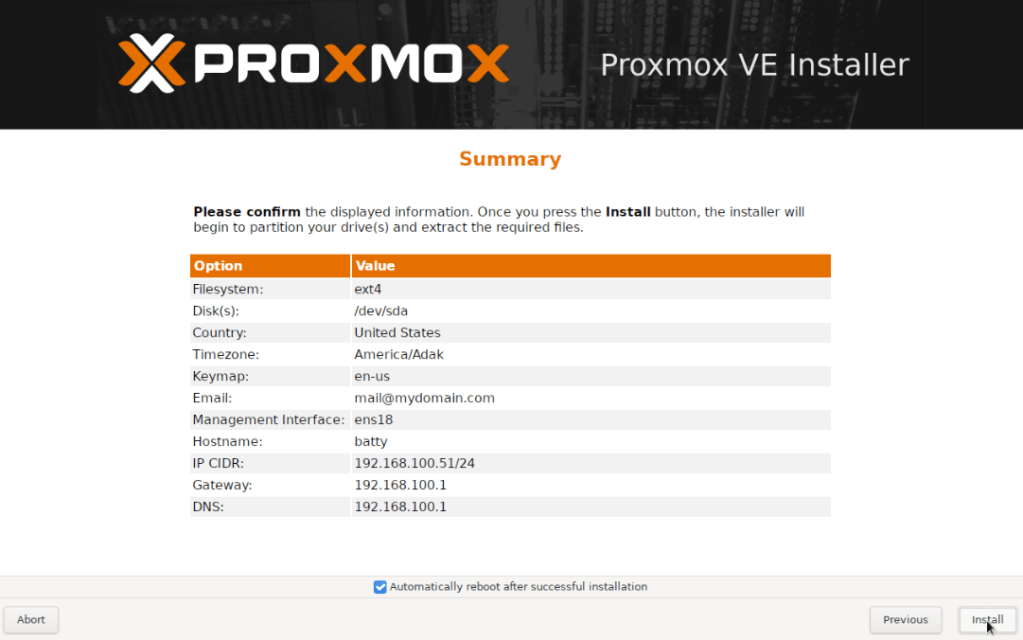
The installation is straightforward and concludes with the first node configuration via web console.
We repeat the same procedure for the other members of the cluster. In out lab environment, we’ll end up with three nodes with the next provisional management adresses:
- batty.tanhausergate.com – 192.168.100.51
- bryant.tannhausergate.com – 192.168.100.56
- gaff.tannhausergate.com – 192.168.100.32
We’ll now set up networking on each node before setting up the cluster. Each node has two NICs. Nic0 will be our management and edge interface. Nic1 will be our vxlan and cluster interface.
- Management | Edge Network: 192.168.100.0/24
- VxLAN | Cluster Network: 192.168.20.0/24
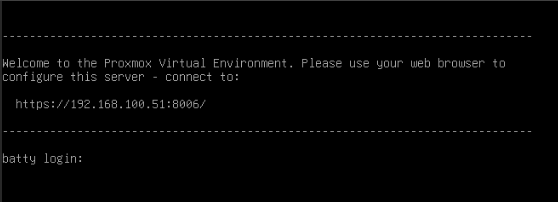
From your management workstation, we open the web console with the IP you provided during the installation and port 8006:

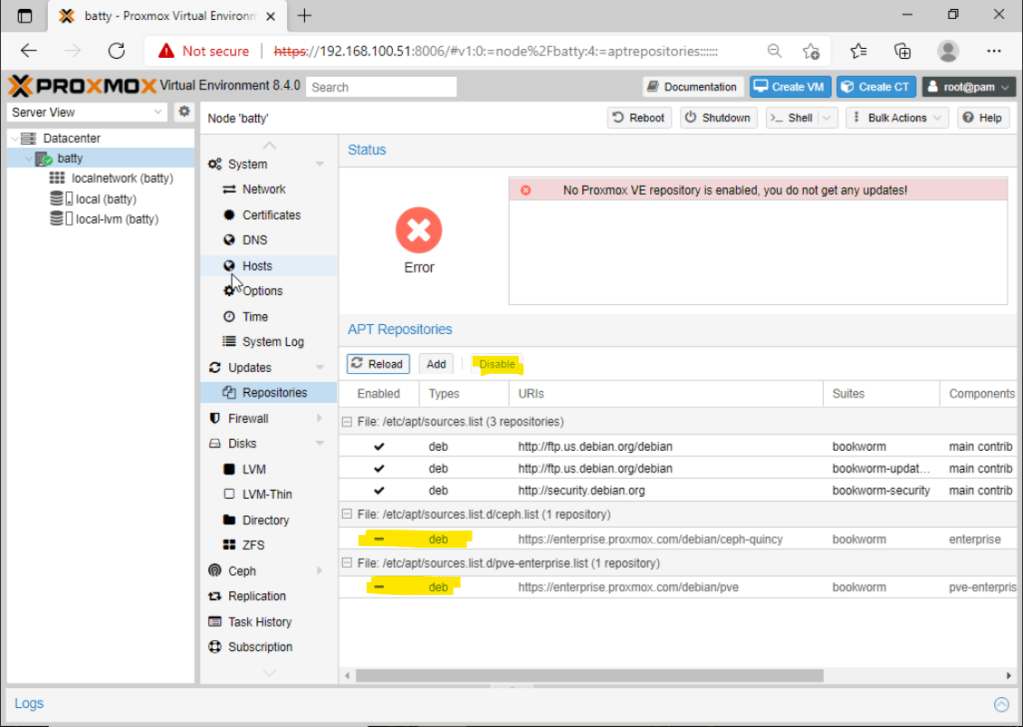
You’ll get a message that your installation doesn’t have a valid subscription, we’ll fix that. Go to Updates, Repositories and turn off the two last enterprise repositories. We don’t have a subscription so we’ll go with the No-Subscription repository:
Click add and select No-Subscription:

Go to Updates, Click Refresh and then the Upgrade button, type Y when prompted. The latest updates should be applied and your server will have the latest version available. Reboot the server with the button at your upper right side.
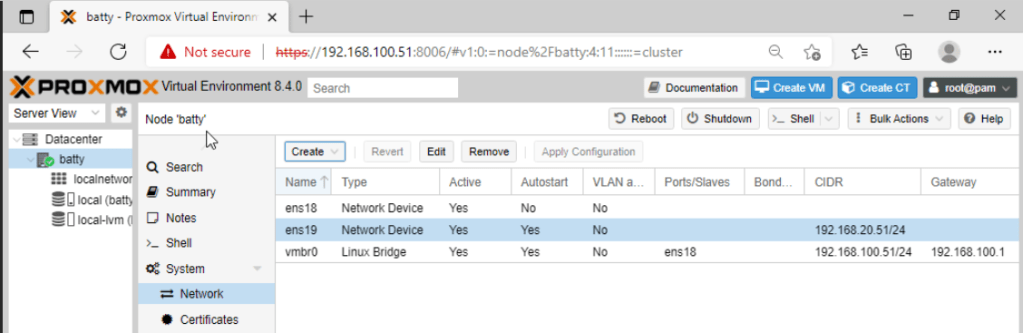
Back in our server, let’s go to System, Network and you should see your nics and a Linux Bridge comparable to this:

You can see that our Linux Bridge vmbr0 is linked with the physical nic ens18 which is our first nic. We’ll click our second nic ens19 and set its static ip address:
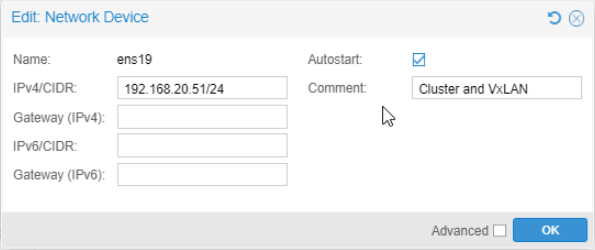
We just need IP and mask. Remember to check Autostart. We set a comment, hit OK, and then Apply Configuration. Confirm that the new network device is activated:
This node is ready, we repeat this procedure with the rest of the nodes in our lab.
Once all nodes are patched and the network configured, we’ll create the cluster. On any node we’ll go to Datacenter, Cluster, and click Create Cluster, we give the cluster a name and select the corresponding interface:

Click Copy Information, you will need this information to enroll the other cluster members:

Now, on each member, you go to Datacenter, Cluster and click Join Cluster. Type the Join Information from the first node. Enter its root password. Select the cluster network. This network should be the same on all cluster nodes. You should end up with your nodes on the same cluster:

Now your cluster is set up and you should manage all nodes from the web console of any cluster member. If your nodes have shared storage, you can set it to be available at the Datacenter level. This allows you to live migrate VMs between nodes. For the purpose of this lab, our nodes just have local storage.
Finally we’ll set up VxLAN.
The nodes of our cluster share an isolated physical LAN. This is besides the LAN that connects them to the world. We’ll set up a VxLAN (also called overlay) on this isolated LAN (also called underlay). This VxLAN encapsulates a Layer 2 LAN into UDP Layer 4 datagrams of another LAN. This is the foundation of SDN (Software Defined Network). It allows us to create complex VLAN configurations on top of a single physical VLAN. No more multi VLAN configurations on the physical switches. Let’s go into it on our cluster.
On any cluster member, we go to Datacenter, SDN, Zones. Here we’ll click Add and select VXLAN:
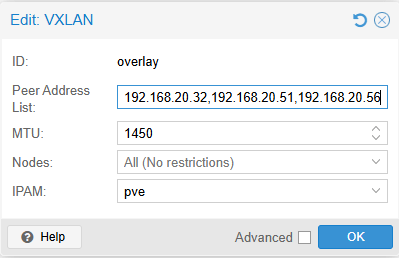
We’ll give the zone a name, and type the IP addresses of each node separated by commas. Unfortunately we need to type this information, so remember to type the IP addresses of our physical VXLAN interfaces. MTU should be 1450 (50 less than regular MTU), we can leave the rest as default.
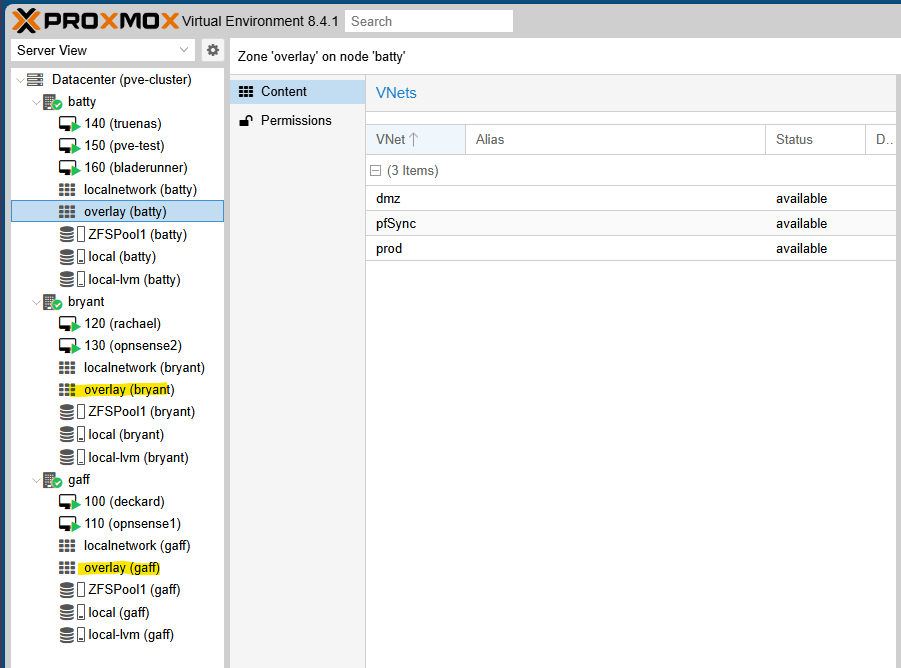
Now we create a couple of VNets which will be our VMs networks. We’ll go to VNets and click Create. We’ll give the VNet a name. We’ll also assign an alias, which is optional. Next, we select our Zone. Finally, we select a tag for our VNet, akin to the tags of physical VLANs in the real world. We don’t need to create subnets into each VNet because these are Layer 2 Vnets. For my lab, I’ve created three VNets:

Finally, we go to SDN and click Apply. All the new configuration should be applied. Now you can see on each node a second group of network. This is our overlay zone and its vnets. The same applies for all nodes of the cluster. All the VMs on each VNet can see each other, no matter which cluster node the VM is:
That’s it, simple right? This is our hardware cluster configuration. It is powered with a VxLAN. We can create many VLANs for our VMs inside of the cluster.
On the next post, we’ll create our first VM which will function as a router and firewall between VNets. This VM (we’ll use opnsense) will also give all the VNets access to the real world.
Thanks, and don’t forget to leave your comments and suggestions.
Have fun!

Leave a comment