

In earlier posts, we implement an Hyper-V cluster with shared storage in a iSCSI NAS. But, what if we don’t have a NAS or any other shared storage technology? This is when we implement an Hyper-converged Cluster.
Check the implementation of a Classical Shared Storage Hyper-V Cluster:
We will simulate that our cluster nodes have plenty of local disks. We’re going to set up what’s called an Hyper-converged Cluster with S2D (Storage Space Direct). In this way, all our nodes will form a big storage shared between all nodes. No need for NAS shared storage or complex storage networks. All VMs inside this Cluster will live in this virtual shared storage. As a cluster, it will offer resilience and redundancy.
Sounds great, doesn’t it? Yes, it’s is in lab environments, but in production it’s not as easy as it seems. Physical cluster nodes should feature ultra-performance SAS SSD Disks. They need 10Gbps or faster networks and special dedicated network cards. These elements guarantee the cluster performs well. Additionally, Windows Datacenter Edition is mandatory. In many cases manufacturers as Dell or HP have specially designed bundles for their Hyper-converged infrastructure.
So, let’s see this in action. We will need at least two Windows Server Datacenter Nodes. Each node will have extra virtual disks. This setup will allow us to construct a big shared disk from all these single ones. In my lab, I will use two Windows Server VMs. These VMs will be implemented in a physical Windows Server Hyper-V host. I will also use private switches to simulate my networking. An Active Directory Domain VM has already been implemented.
Once you have installed the OS, join the nodes to the domain and install all available updates.
This is the configuration I’ll use on my nodes:
Node 1
- Name: WS2025CN2
- OS: Windows Server 2025 Datacenter Edition (Without Desktop Experience)
- 2 vCores; 3GiB RAM; 64GiB OS Disk
- Domain: demolab.com.ec
- 2 SCSI Data vDisks 64GiB each
- NIC1 (Administration): 172.18.32.5 /24
- NIC2 (Heartbeat): 10.18.1.5 /24
- NIC3 (Production): No configuration
Node 2
- Name: WS2025CN4
- OS: Windows Server 2025 Datacenter Edition (Without Desktop Experience)
- 2 vCores; 3GiB RAM; 64GiB OS Disk
- Domain: demolab.com.ec
- 2 SCSI Data vDisks 64GiB each
- NIC1 (Administration): 172.18.32.6 /24
- NIC2 (Heartbeat): 10.18.1.6 /24
- NIC3 (Production): No configuration
Cluster
- Name: S2DCluster2
- Domain: demolab.com.ec
- IP Address: 172.18.32.10 /24
Note: We’ll use 3 NICs in this demo so we can simulate a real production scenario. It’s strongly recommended you label your NICs properly. Don’t leave the default name as “Ethernet 0,1,2…etc”
Note: The data disks should be SAS or SSD local disks. They must show their serial number to the operating system (83h VPD descriptor). You can implement all VMs of this lab in a single Hyper-V host. Check the documentation of other hypervisors to properly implement the disks.
Note: Once the cluster nodes VMs are created, you have to run the next command in Powershell with high privileges in the Hyper-V host to allow nested virtualization:
Set-VMProcessor -VMName <VM_Name> -ExposeVirtualizationExtensions $trueChange VM_Name with the name of your VMs. VMs must be turned off.
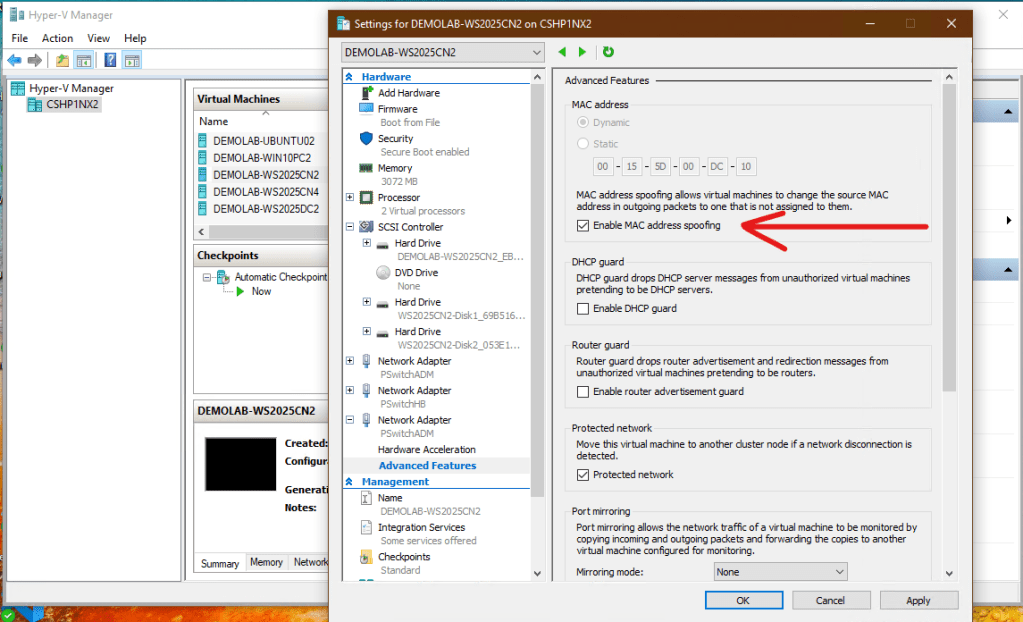
Note: If you want to go beyond this lab, you’ll need to set up MAC spoofing. This is necessary to create a VM inside another VM. This must be done on the network card dedicated for inner VMs. This can be done in the physical Hyper-V node here:
Once your VMs are all set, we can move to our bastion management workstation to continue with the installation.
Open Powershell to connect to every node and install the required roles and features:
Enter-PSSession <server_name>Install-WindowsFeature -Name "Hyper-V", "Failover-Clustering", "RSAT-Clustering-PowerShell", "Hyper-V-PowerShell", "FS-FileServer"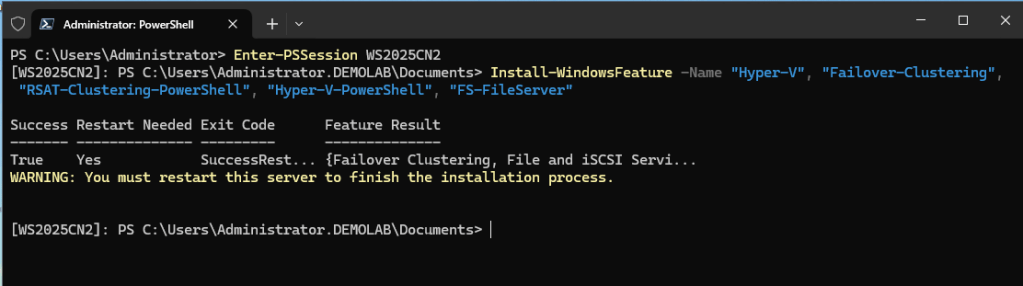
Repeat on the other node and restart.
With all nodes up again, let’s confirm the configuration:
Test-Cluster -Node <NodeName1, NodeName2> -Include "Storage Spaces Direct", "Inventory", "Network", "System Configuration"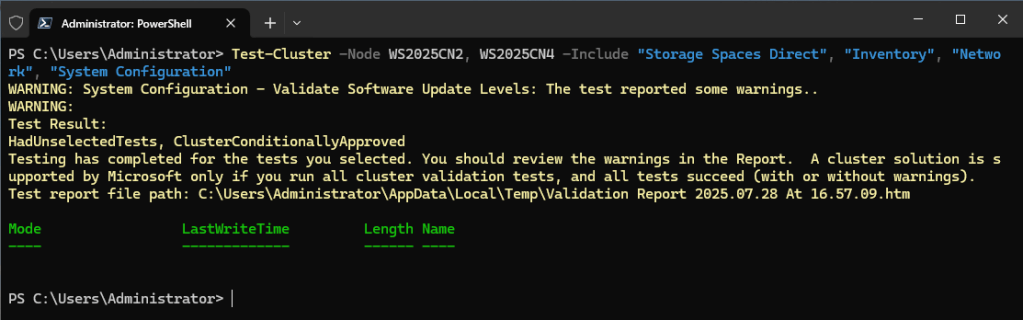
If you have only warnings, you are OK. If the report shows errors, you should review it and correct them. You can’t continue if the report has errors.
Note: In production, It’s a good practice to run cluster validation often to check everything remains fine.
Check the report and continue with the creation of the cluster:
New-Cluster -Name <ClusterName> -Node -Node <NodeName1, NodeName2> -NoStorage -StaticAddress <X.X.X.X>
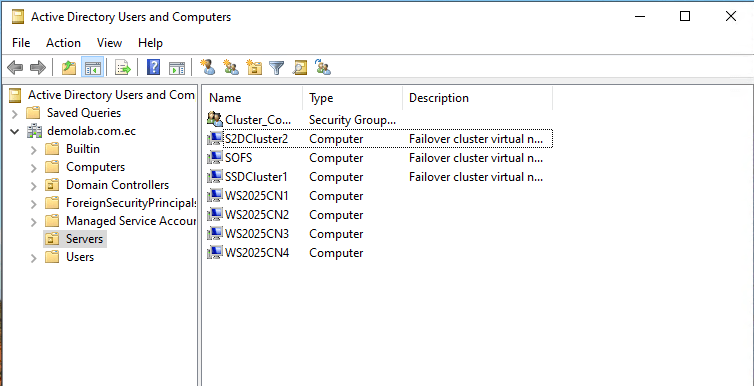
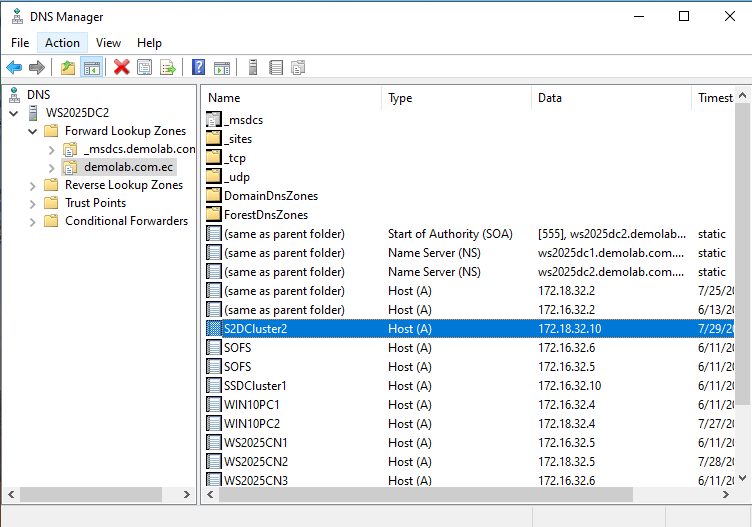
Check the cluster objects are created in Active Directory and DNS:
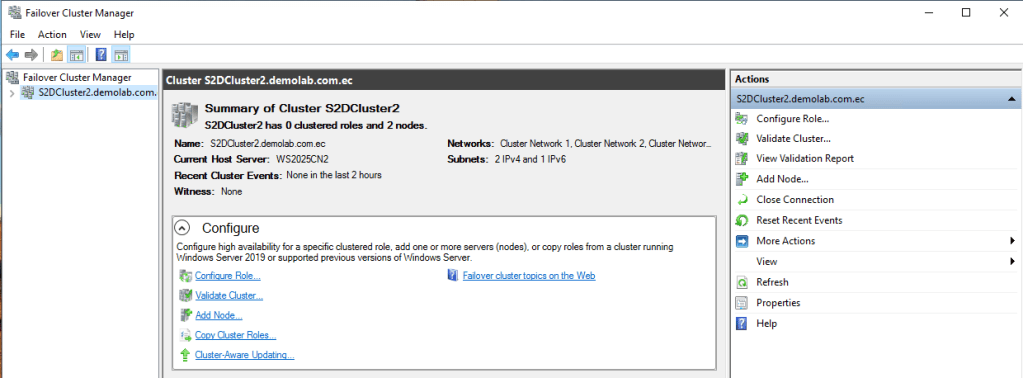
Now in bastion workstation, open Failover Cluster Manager and connect to your new Cluster:
Let’s set up a witness for our cluster. In this lab environment we will use a shared folder in the bastion computer.
Note: The shared folder must be created earlier, the cluster and nodes computer objects must have change permissions.
In the right pane, click More Actions and Configure Cluster Quorum Settings. Click Next:
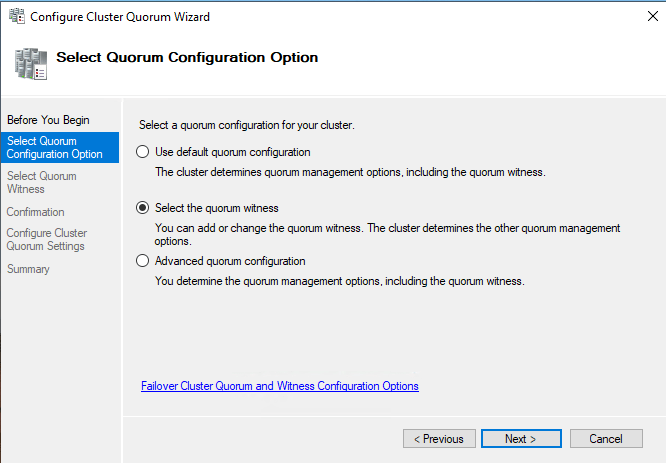
Click Select the quorum witness. Click Next:
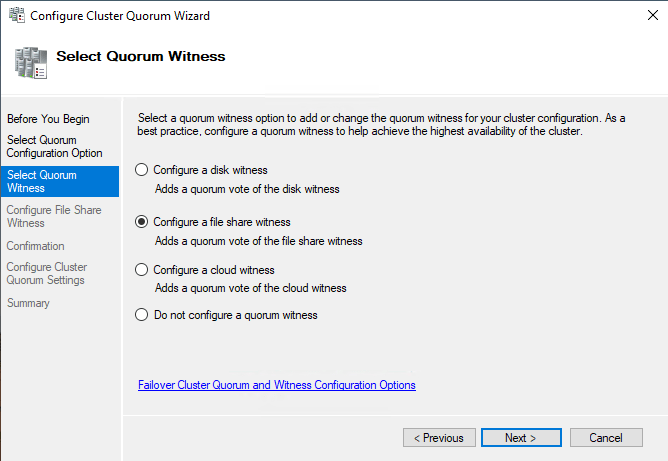
Select Configure a file share witness. Click Next:
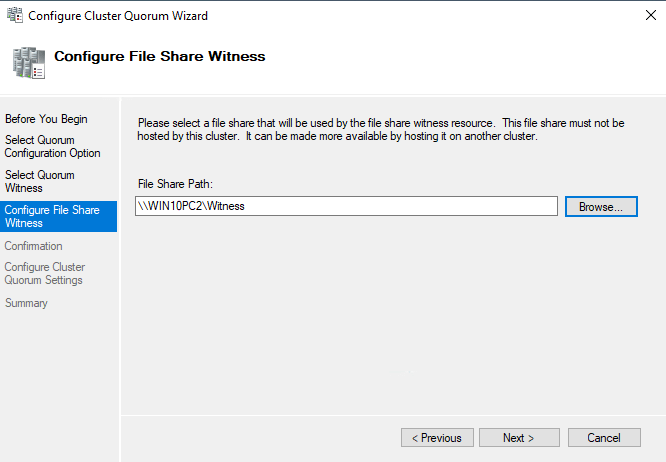
Enter the path of your shared folder. Click Next:
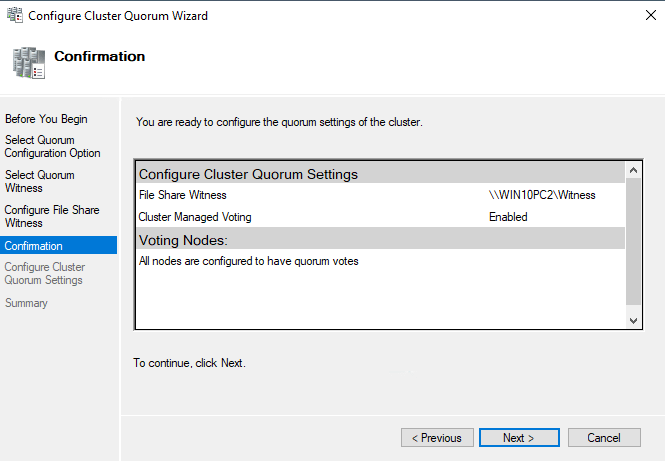
Click Next and Finish. Now the cluster has witness.
You can also create the witness in Powershell:
Set-ClusterQuorum -Cluster S2DCluster2 -FileShareWitness \WIN10PC2\Witness -Credential (Get-Credential)Now let’s go back to PowerShell to allow Storage Spaces.
Enable-ClusterStorageSpacesDirect -CimSession <ClusterName>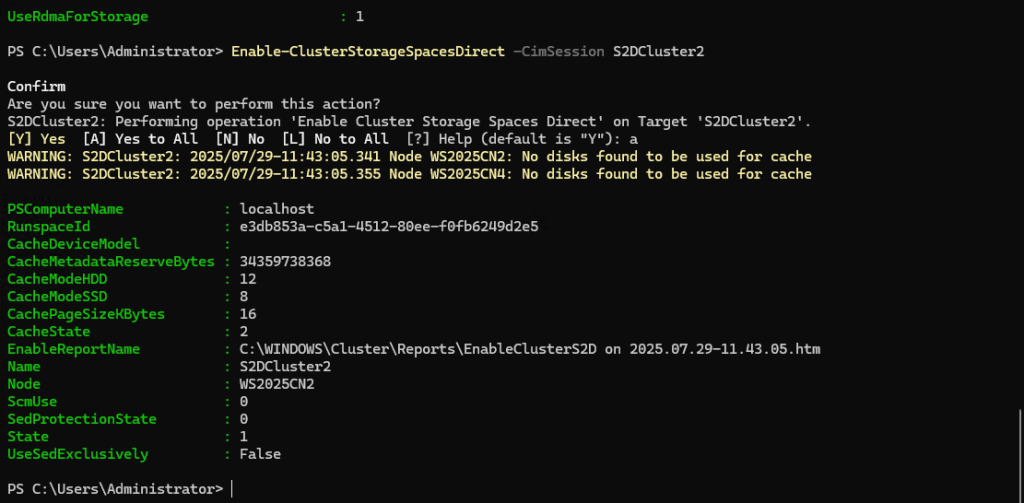
Now, create the volume. First make sure to be logged in one of your nodes:
Enter-PSSession <node_name>New-Volume -FriendlyName <volume_name> -FileSystem CSVFS_ReFS -StoragePoolFriendlyName "S2D on <clustername>" -Size <size_of_your_volume>
Note: Your volume size should be less than the desired resilience. In our lab, we want to mirror the resilience because we only have two nodes. As each node have 128GB of total disk size, we’ll use a less than this capacity.
Check on both nodes the folder: C:\ClusterStorage\<volume_name>

Finally, let’s change default VMs location in Hyper-V and create a vSwitch.
On each node, open Hyper-V settings:

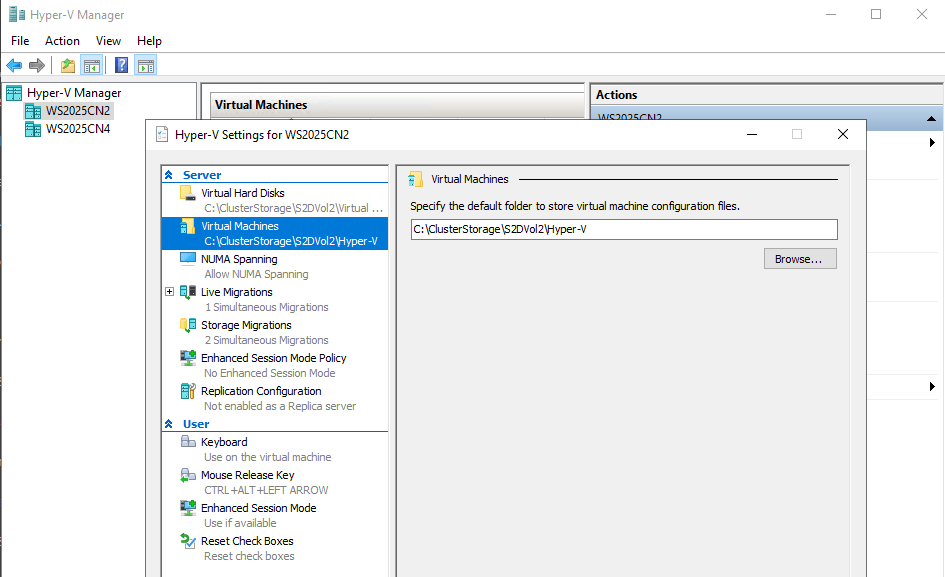
Replace the default folders with the location of the S2D volume on each node.
Now on each node, let’s create a vSwitch. Go to Virtual Switch Manager. Select External and click Create Virtual Switch:
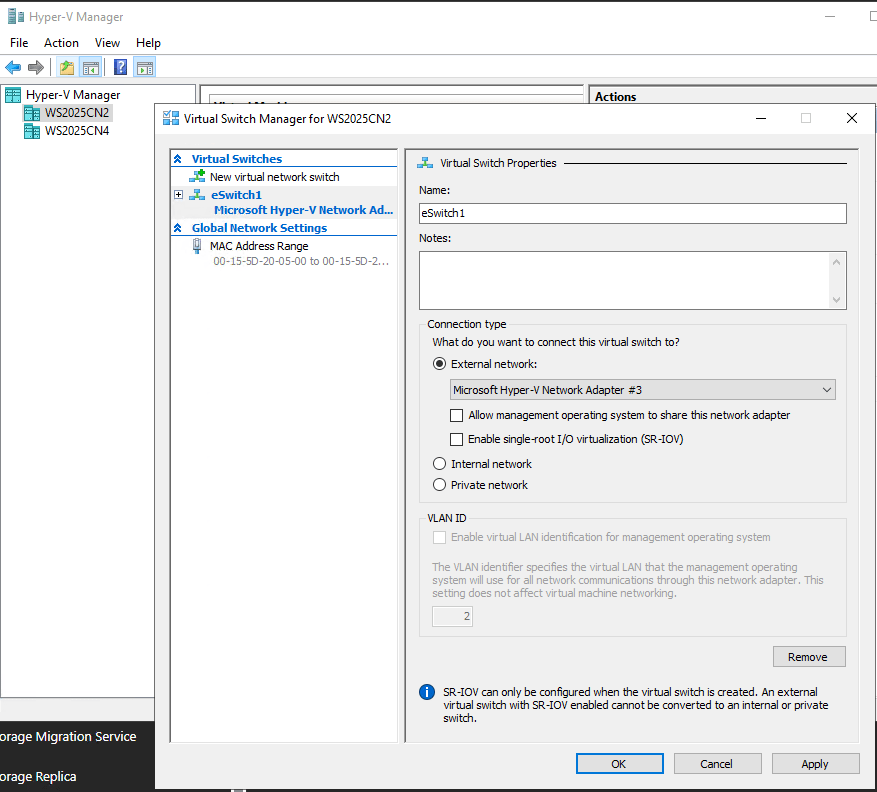
Give the switch a name, select the NIC dedicated for VMs and clear Allow management… Repeat on the other node.
Now you can create VMs in a our Hyper-converged Cluster and will resist one node failure.
That’s it, don’t forget to leave your comments and suggestions.
Have fun!

Leave a comment